History of CPR
In the mid-1950s, a medical study found that a staggeringly high number of Americans were dying prematurely from heart disease. One of every three deaths was directly related to sudden cardiac arrest.
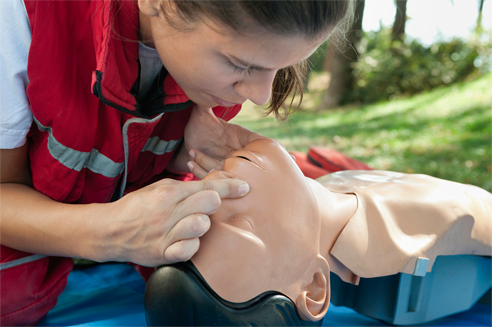
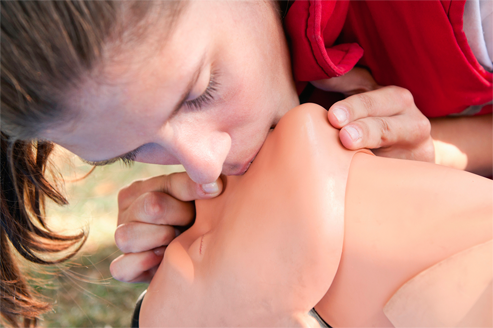
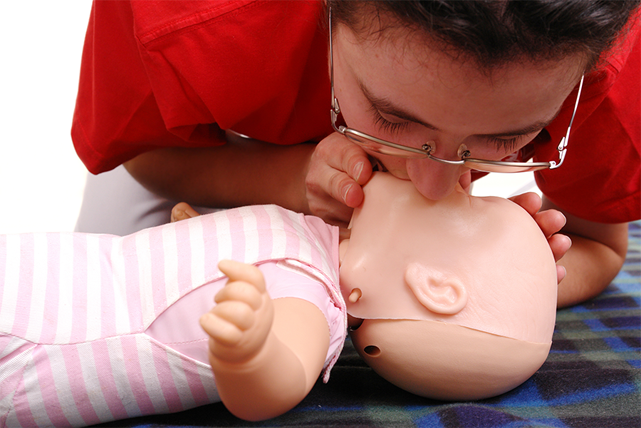
The medical community began researching a US Army technique that used mouth-to-mouth resuscitation and cardiac massage on pulseless victims. In 1963, a CPR committee was formed to teach CPR to citizens who had no medical background.
Chain of Survival
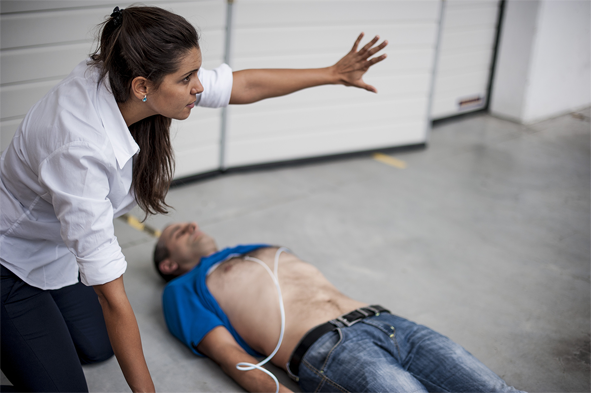
Call 911 immediately
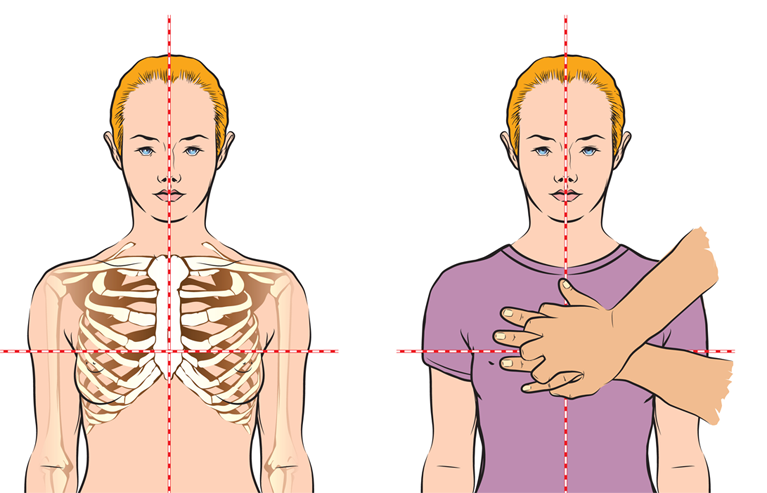
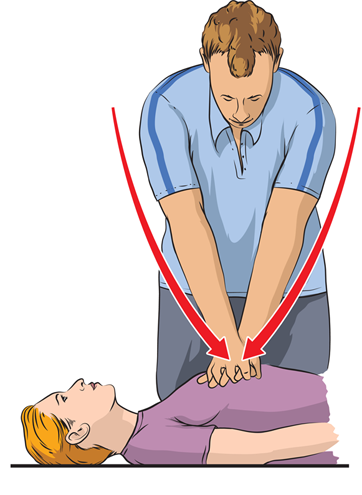
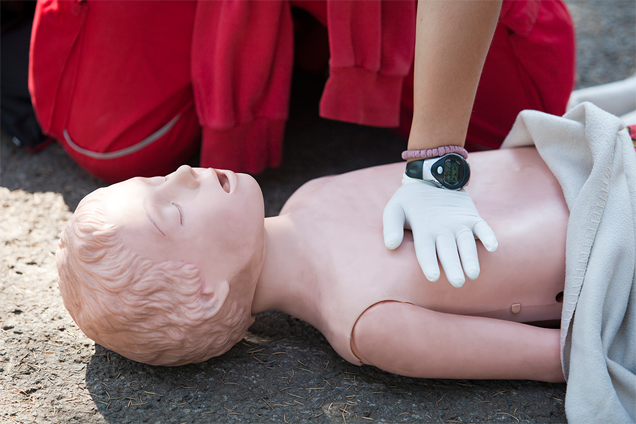
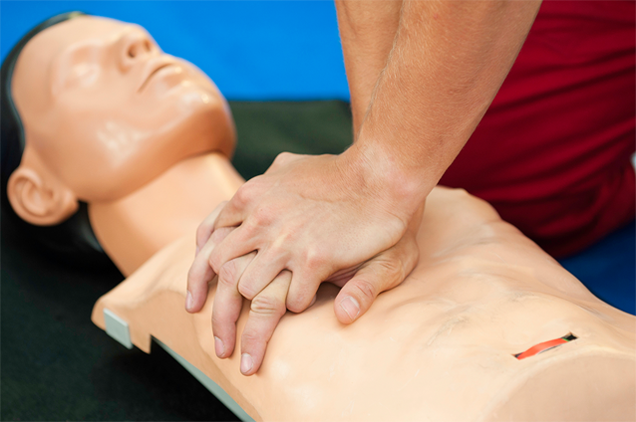
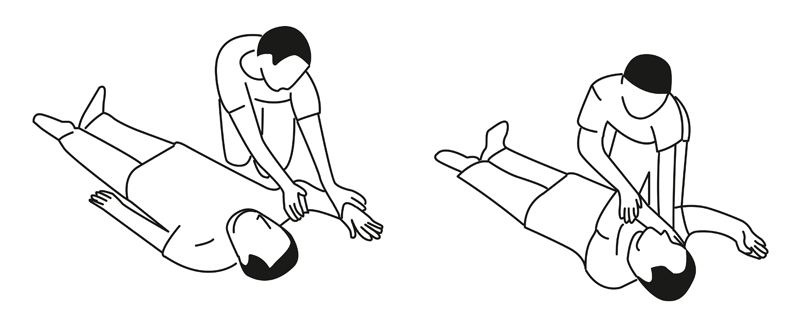
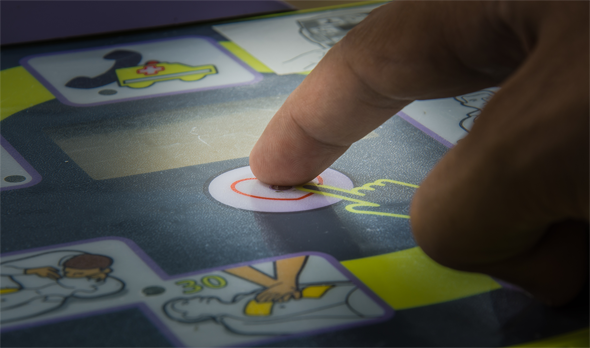
Fast & hard compressions
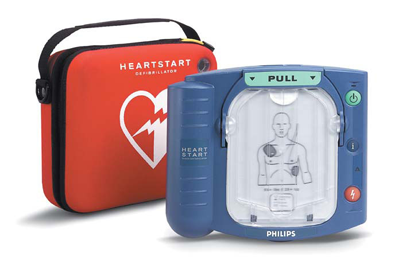
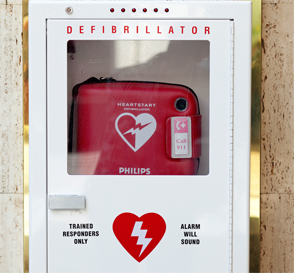
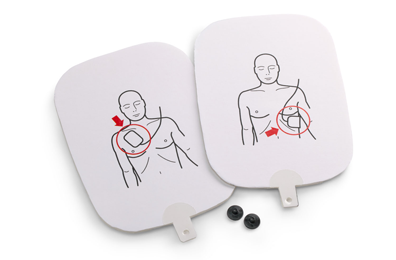
Use AED
EMS Personnel
CPR intervention can double the victim's chance of survival and reduce the risk of permanent brain damage.
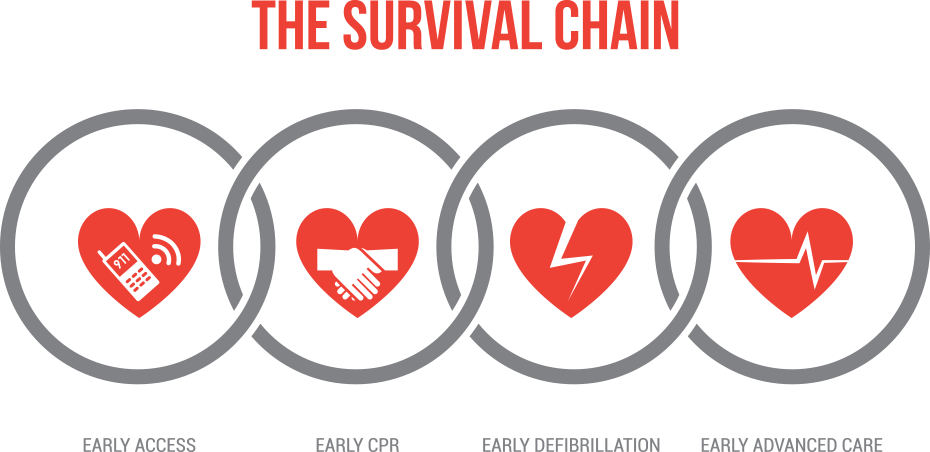
Chain of Survival Diagram
Heart Attack Symptoms
😣 Chest Pain
Discomfort or pain in the center of the chest lasting more than a few minutes. Feels like pressure, squeezing, fullness.
🦾 Radiating Pain
Pain spreading to arms, shoulders, back, neck, jaw and/or stomach. Pain may move from point of origin.
😰 Shortness of Breath
Can occur with or without chest discomfort. Due to heart's inability to pump oxygenated blood effectively.
🥶 Other Signs
Cold sweats, nausea, vomiting, dizziness, cool clammy skin, feeling of "impending doom".
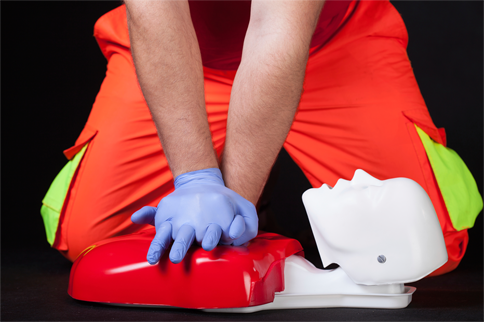
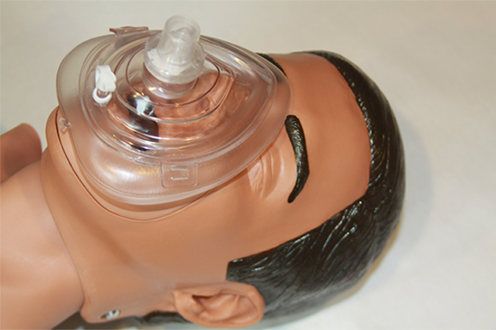
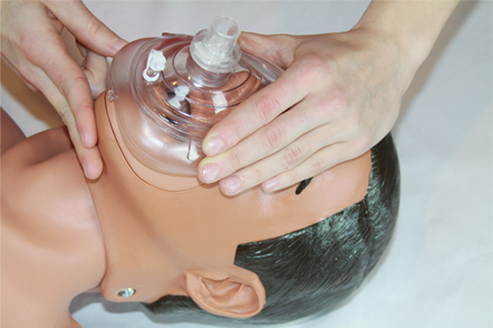
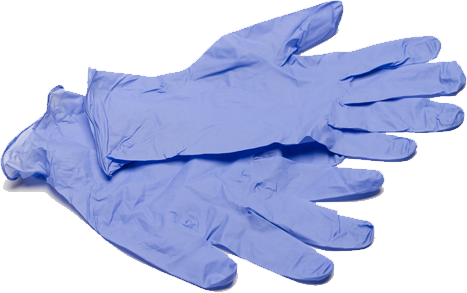
Personal Protective Equipment (PPE)
Always use protective gloves and CPR mask when possible to protect yourself from infectious diseases.

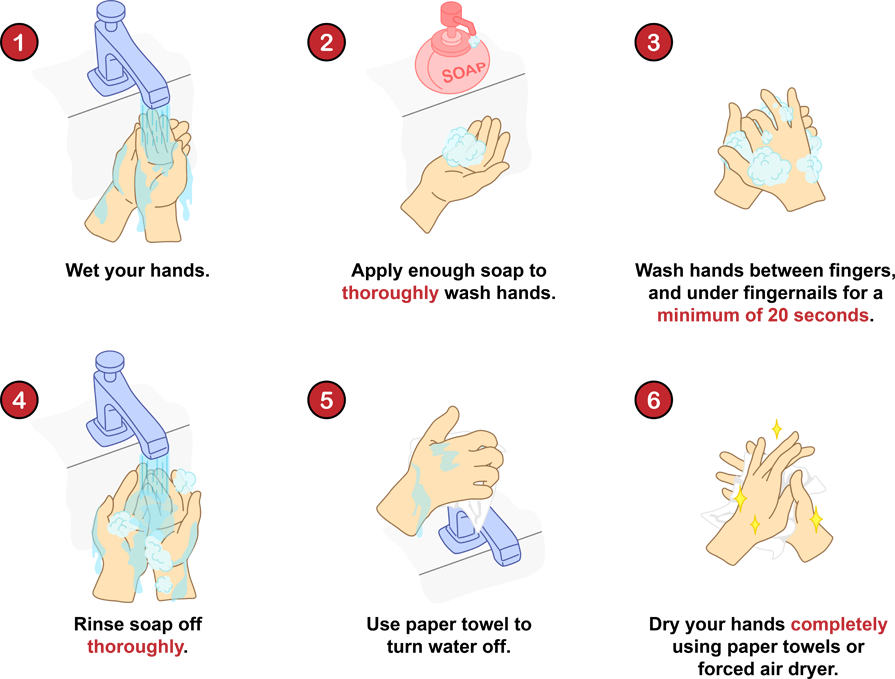
Always wash hands after first aid
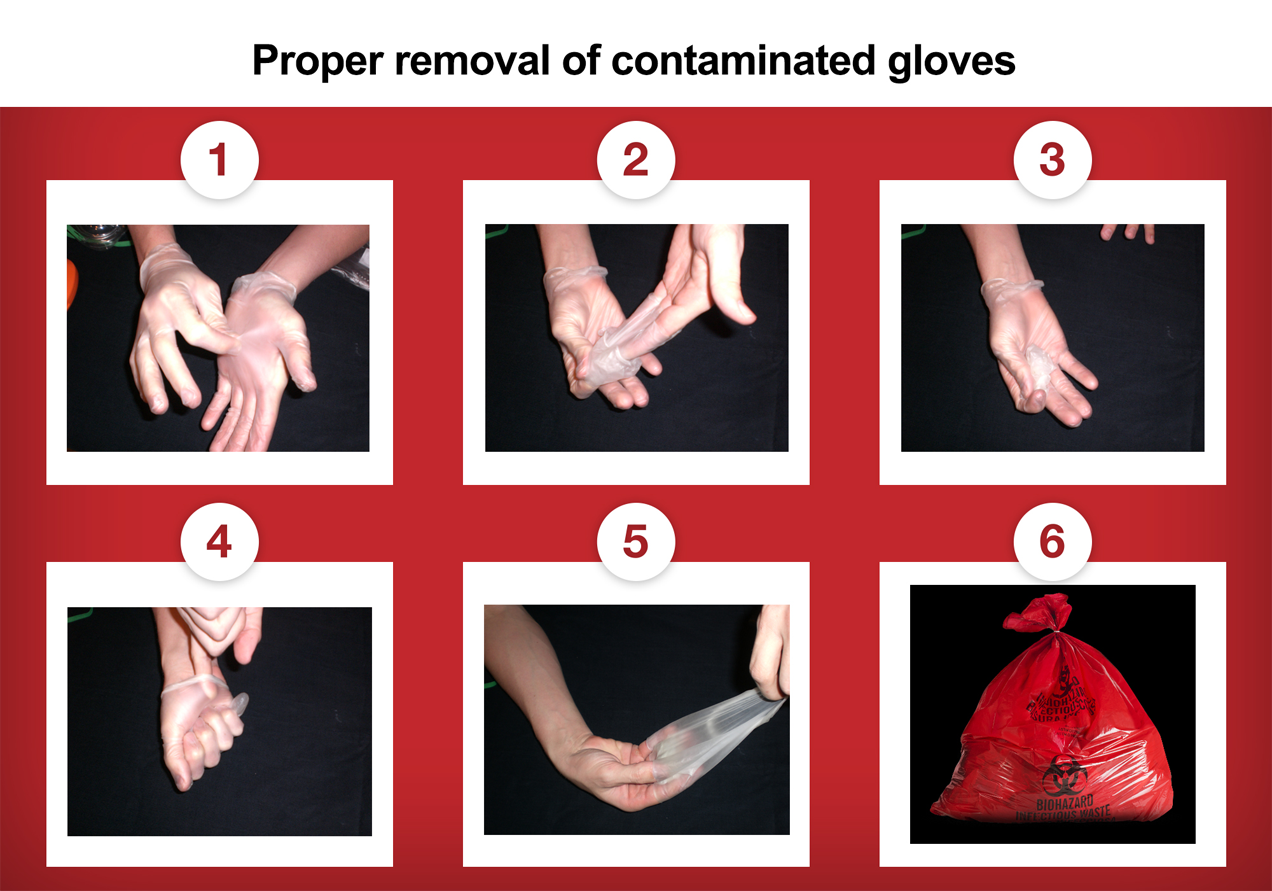
Proper glove removal technique
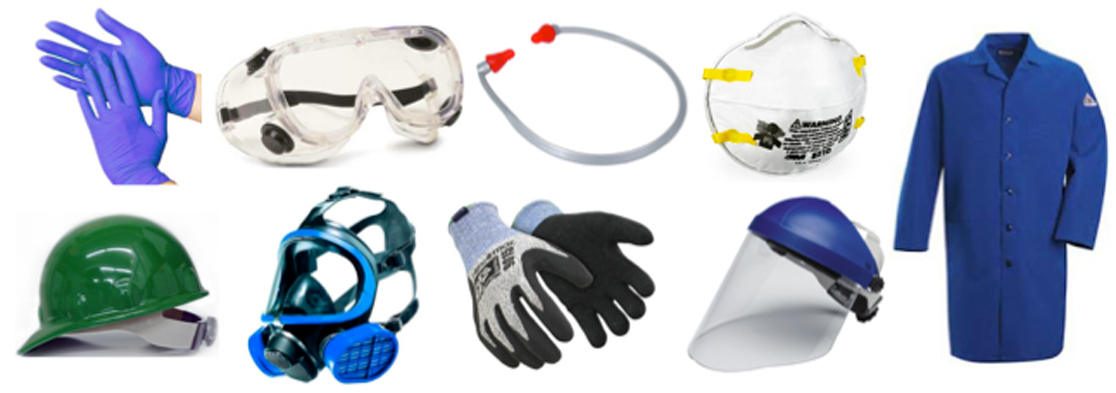
Safety glasses, gown, HEPA mask
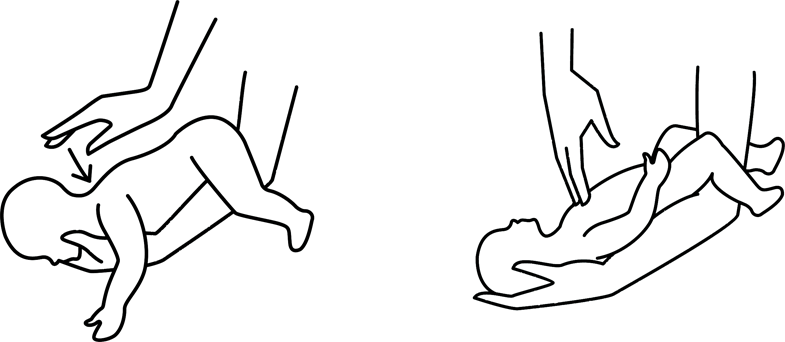
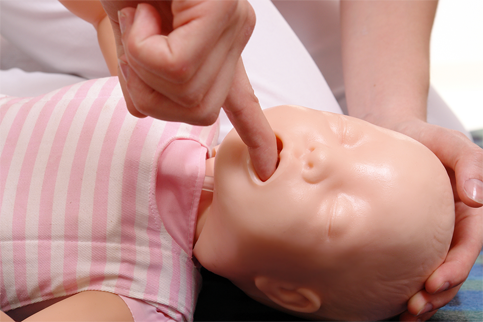
Emergency Action Steps
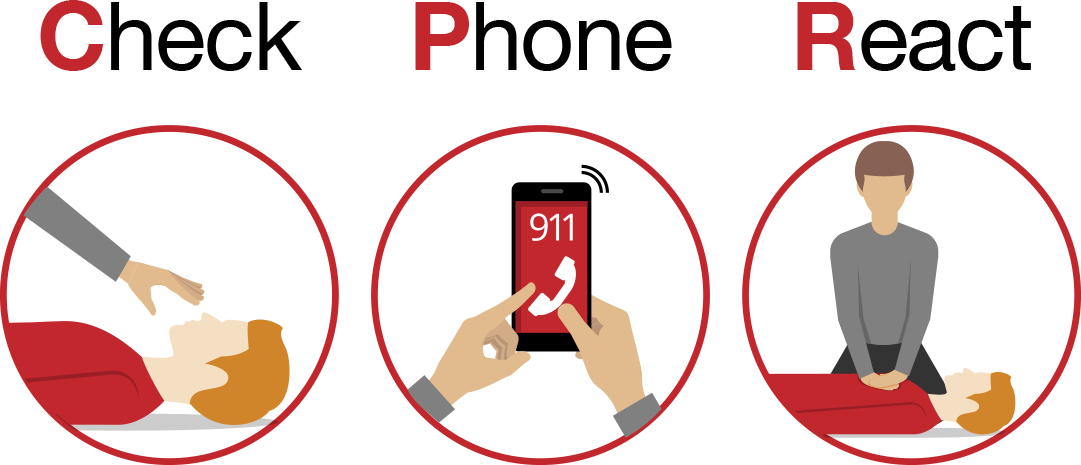
CHECK - PHONE - REACT
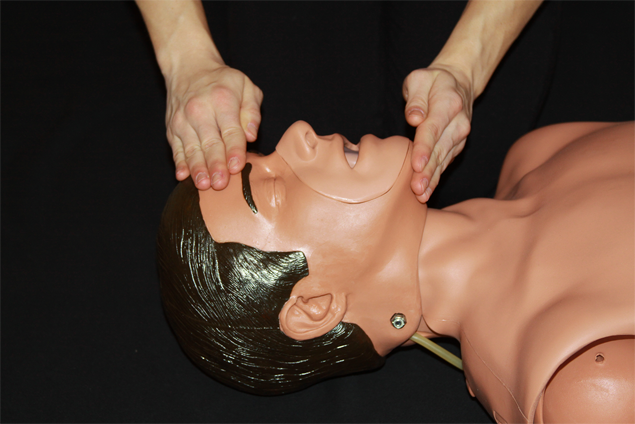
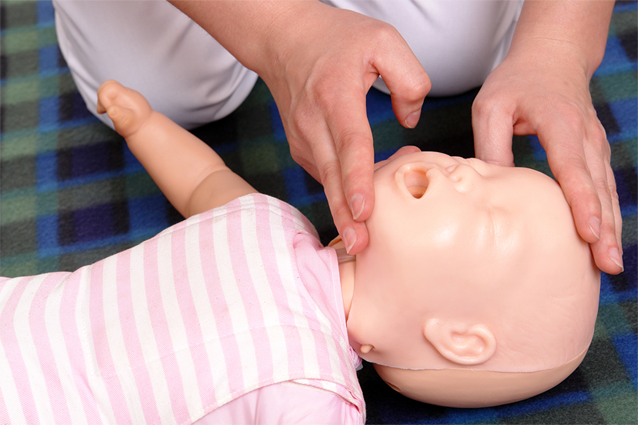
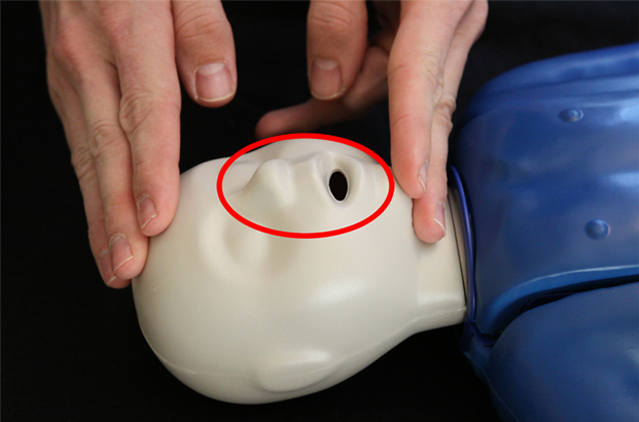
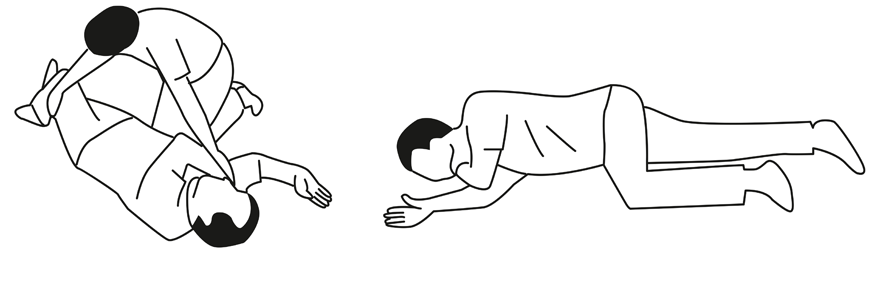
Check victim responsiveness
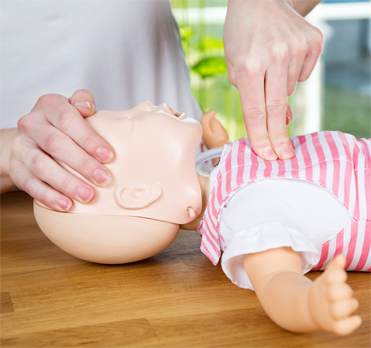
CPR Guidelines (2015)
| Age | Compression Rate | Compression Depth | Ratio |
|---|---|---|---|
| Adult (8+ years) | 100-120/min | 2-2.4 in (5-6 cm) | 30:2 |
| Child (1-8 years) | 100-120/min | Up to 2 in (1/3 chest) | 30:2 |
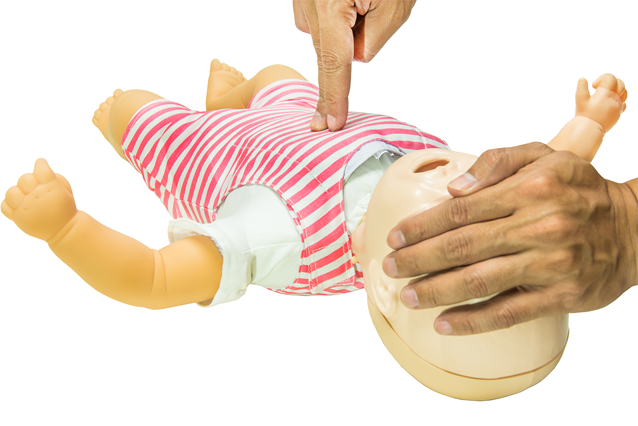
| Infant (under 1 year) | 100-120/min | About 1.5 in (4 cm) | 30:2 |